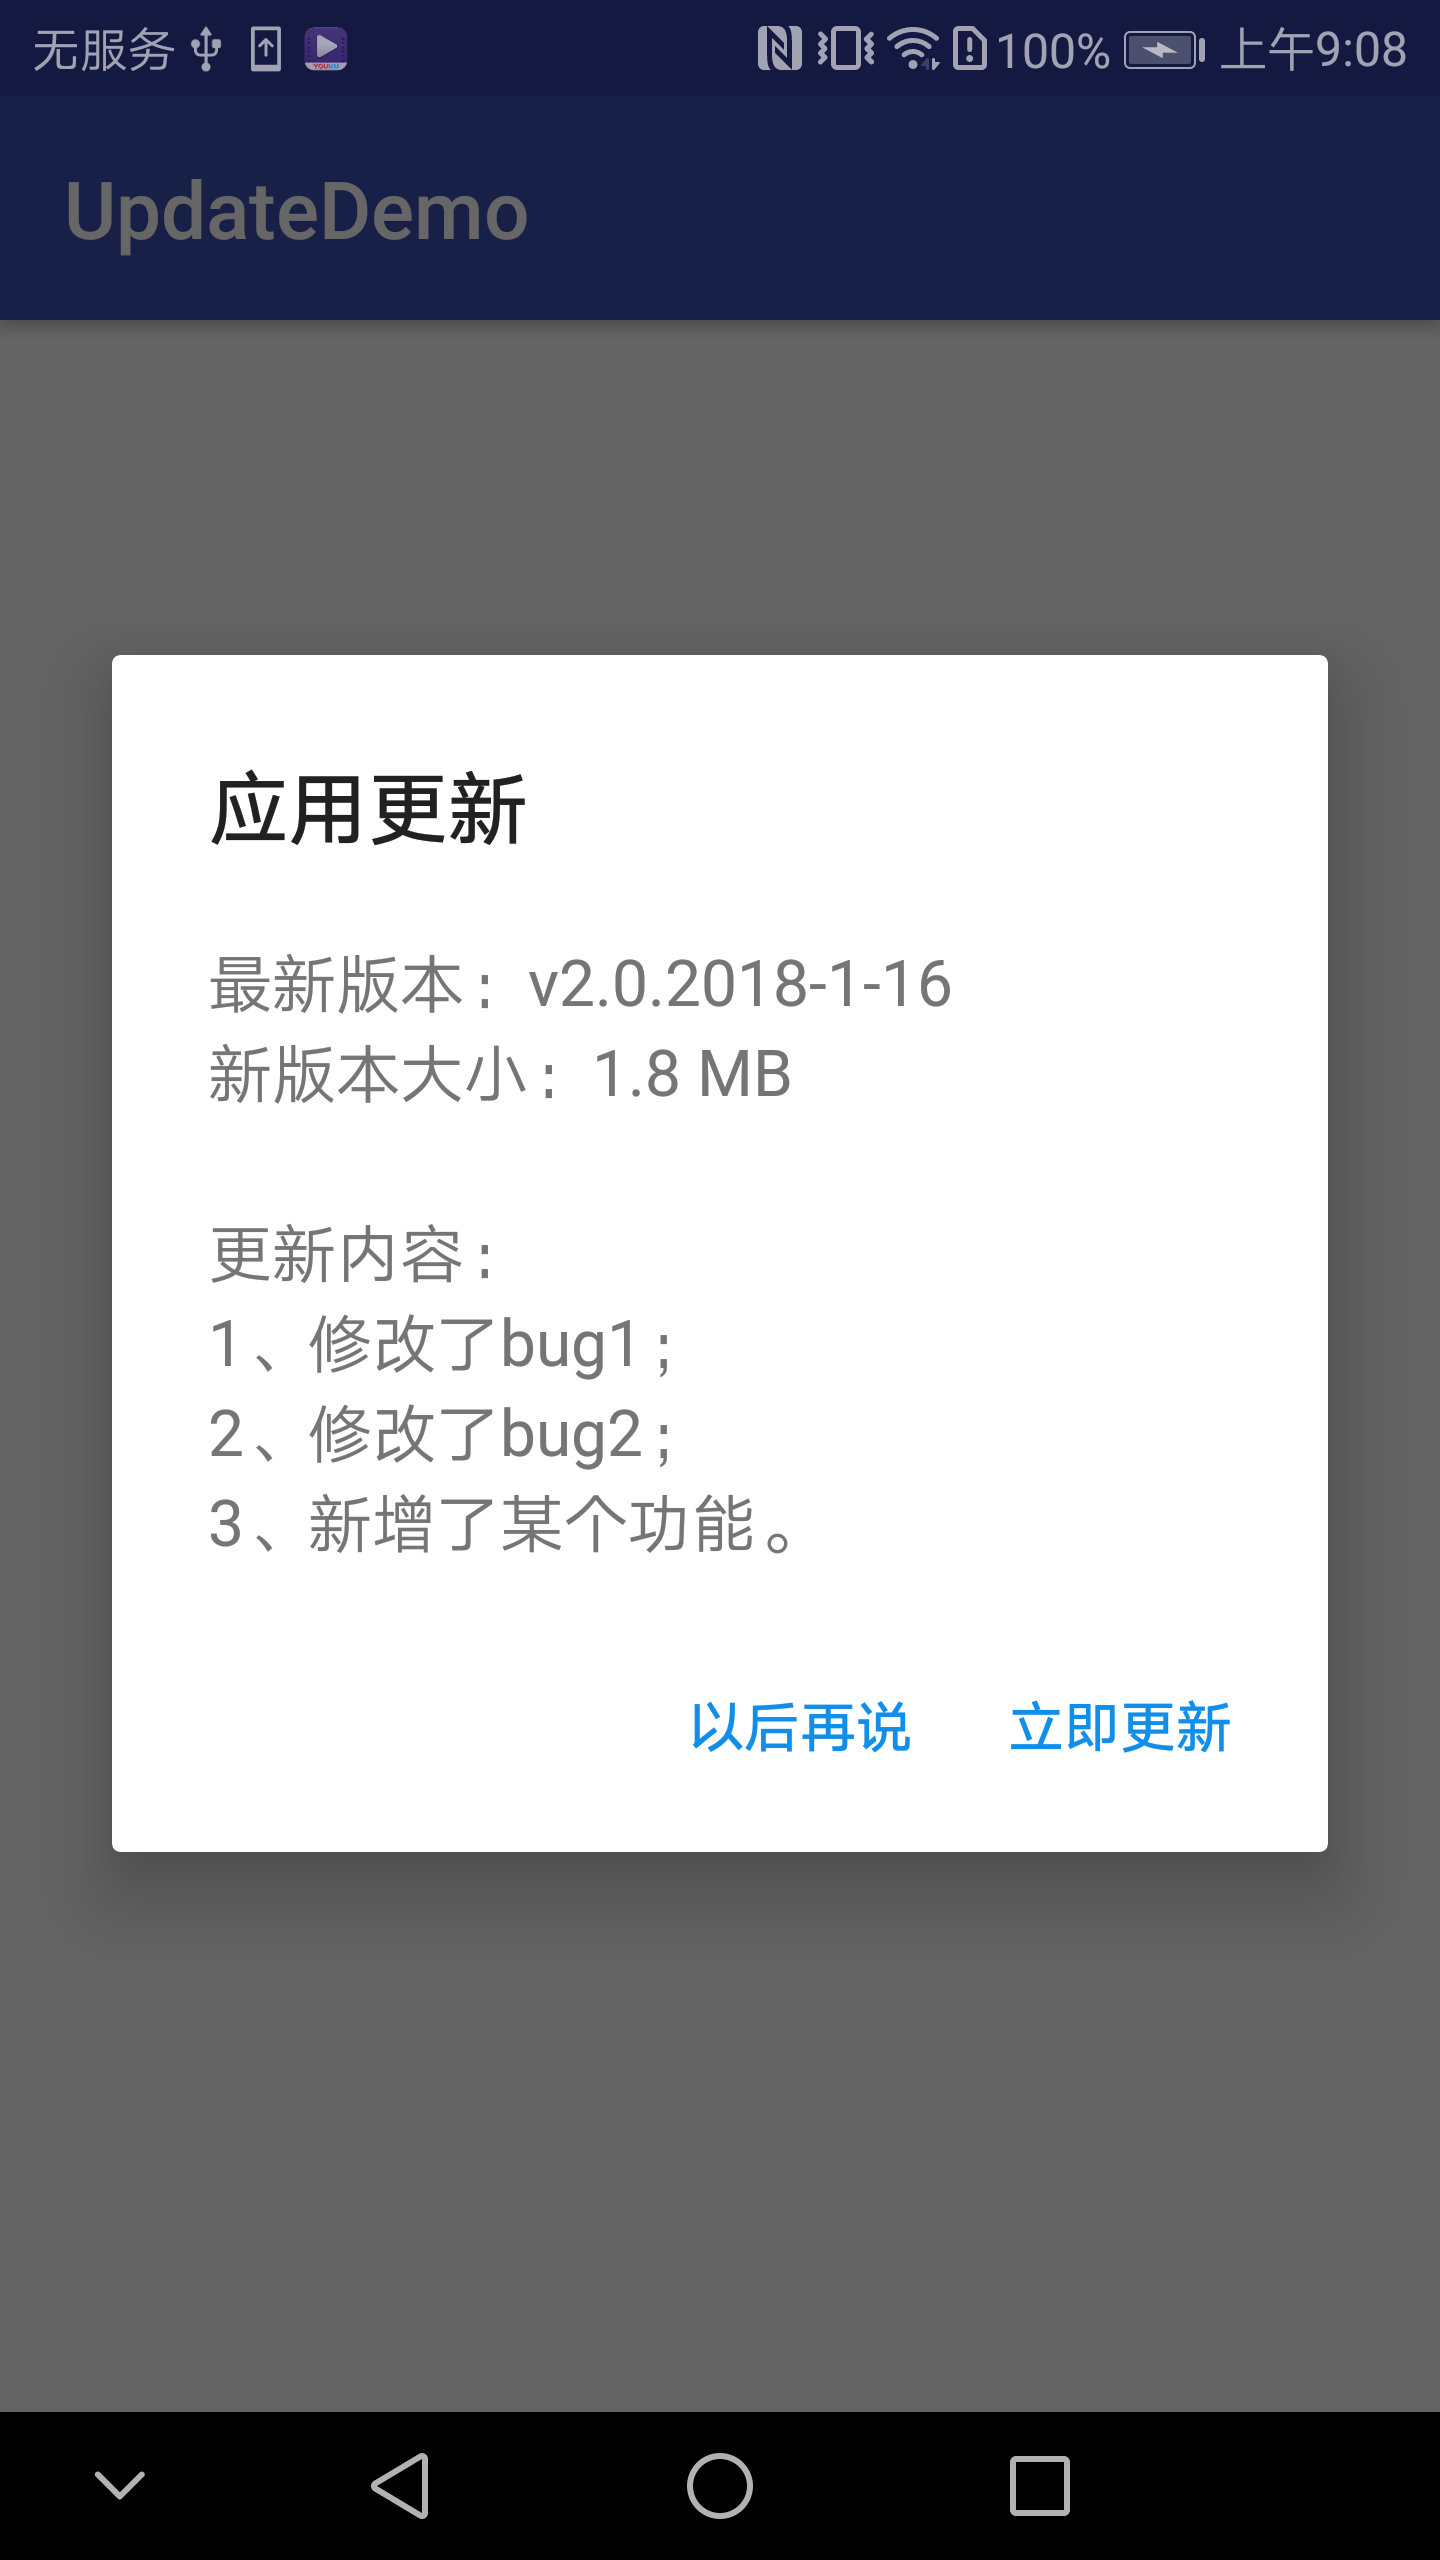
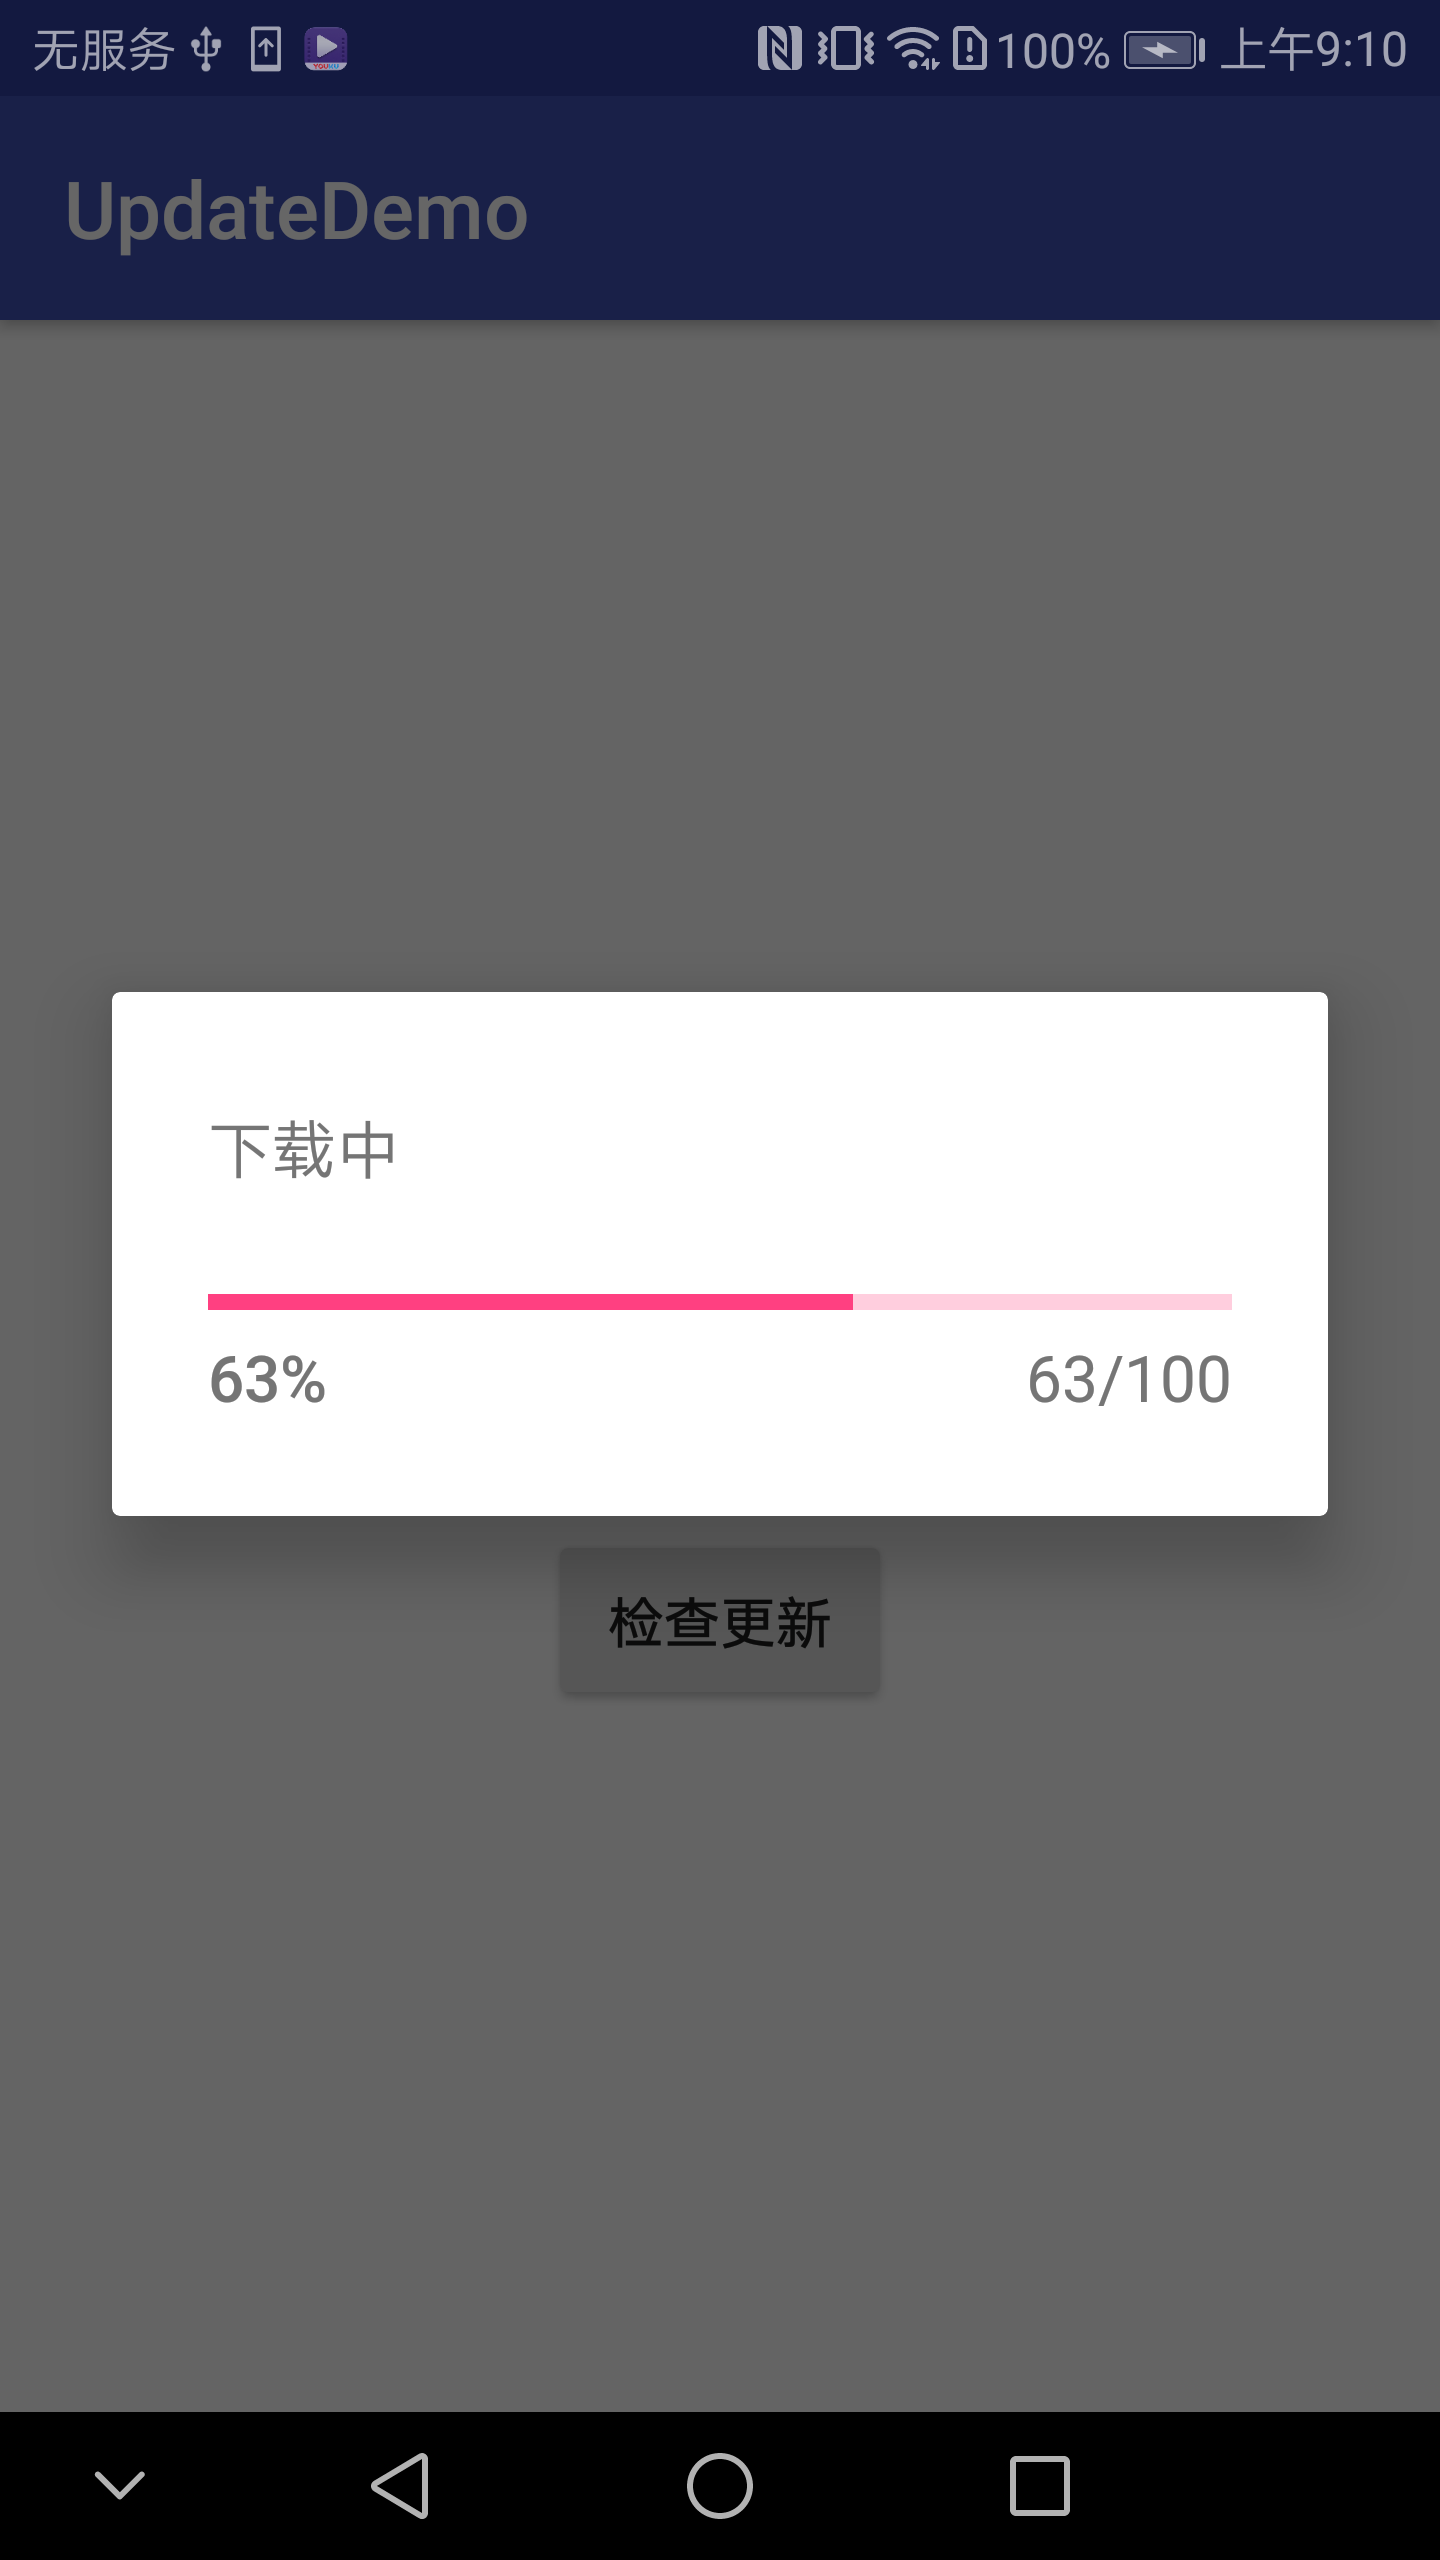
最近做的一个APP需要检测更新,以前都是自己写的,这次决定使用别人封装好的一个库。
czy1121/update
清晰灵活简单易用的应用更新库
第一步,需要搭建一个检测更新的服务。详见
czy1121_update应用笔记(一)——搭建服务
第二步,就是编写Android客户端代码了。
- 创建Android工程;
导入相关的库
-
1
2
3
4
5
6
repositories {
maven { url "https://jitpack.io" }
}
dependencies {
implementation 'com.github.czy1121:update:1.1.1'
} -
1
2
3
4
dependencies {
implementation 'com.afollestad.material-dialogs:core:0.9.5.0'
implementation 'com.afollestad.material-dialogs:commons:0.9.5.0'
} -
1
2
3
dependencies {
implementation 'com.blankj:utilcode:1.9.2'
}
需要设置Application并且初始化Utils
1
2
3
4
5
6
7
public class MyApplication extends Application {
public void onCreate() {
super.onCreate();
Utils.init(this);
}
}1
2
3
4
5
6
7
8
9
10
11
12
13
14
15
16<application
android:name=".MyApplication"
android:allowBackup="true"
android:icon="@mipmap/ic_launcher"
android:label="@string/app_name"
android:roundIcon="@mipmap/ic_launcher_round"
android:supportsRtl="true"
android:theme="@style/AppTheme">
<activity android:name=".MainActivity">
<intent-filter>
<action android:name="android.intent.action.MAIN" />
<category android:name="android.intent.category.LAUNCHER" />
</intent-filter>
</activity>
</application>- 修改app下的build.gradle
1
2
3
4
5
6
7
8defaultConfig {
applicationId "cn.czl.updatedemo"
minSdkVersion 16
targetSdkVersion 22
versionCode 1
versionName "1.0"
testInstrumentationRunner "android.support.test.runner.AndroidJUnitRunner"
}1
2
3
4compileOptions {
sourceCompatibility 1.8
targetCompatibility 1.8
}- 修改xml布局文件,新增一个TextView用于显示版本,新增一个Button用于主动更新
1
2
3
4
5
6
7
8
9
10
11
12
13
14
15
16
17
18
19
20
21
22
23
24
25
26
27
28
29<?xml version="1.0" encoding="utf-8"?>
<android.support.constraint.ConstraintLayout xmlns:android="http://schemas.android.com/apk/res/android"
xmlns:app="http://schemas.android.com/apk/res-auto"
xmlns:tools="http://schemas.android.com/tools"
android:layout_width="match_parent"
android:layout_height="match_parent"
tools:context="cn.czl.updatedemo.MainActivity">
<TextView
android:id="@+id/tv_version"
android:layout_width="wrap_content"
android:layout_height="wrap_content"
android:text="Hello World!"
app:layout_constraintBottom_toBottomOf="parent"
app:layout_constraintLeft_toLeftOf="parent"
app:layout_constraintRight_toRightOf="parent"
app:layout_constraintTop_toTopOf="parent" />
<Button
android:id="@+id/button"
android:layout_width="wrap_content"
android:layout_height="wrap_content"
android:layout_marginTop="30dp"
android:text="检查更新"
app:layout_constraintLeft_toLeftOf="parent"
app:layout_constraintRight_toRightOf="parent"
app:layout_constraintTop_toBottomOf="@+id/tv_version" />
</android.support.constraint.ConstraintLayout>在MainActivity中编写更新方法,自定义下载提示框、进度框。
1
2
3
4
5
6
7
8
9
10
11
12
13
14
15
16
17
18
19
20
21
22
23
24
25
26
27
28
29
30
31
32
33
34
35
36
37
38
39
40
41
42
43
44
45
46
47
48
49
50
51
52
53
54
55
56
57
58/**
* 根据 agent.getInfo() 显示更新版本对话框,具体可参考 {@link UpdateAgent.DefaultUpdatePrompter}
*
* @param isManual
*/
public void update(boolean isManual) {
// 设置默认更新接口地址与渠道
UpdateManager.setUrl("http://10.129.51.27:8080/app/check", "yyb");
// 进入应用时查询更新
UpdateManager.create(this)
//自定义更新提示框
.setPrompter(agent -> {
UpdateInfo updateInfo = agent.getInfo();
String size = Formatter.formatShortFileSize(MainActivity.this, updateInfo.size);
new MaterialDialog.Builder(MainActivity.this)
.title("应用更新")
.content(R.string.update_content, updateInfo.versionName, size, updateInfo.updateContent)
.negativeText("以后再说")
.negativeColor(getResources().getColor(R.color.blue))
.positiveText("立即更新")
.positiveColor(getResources().getColor(R.color.blue))
.onPositive((dialog, which) -> agent.update())
.show();
})
//更新失败给出提示
.setOnFailureListener(error -> ToastUtils.showShort(error.toString()))
//设置下载进度条
.setOnDownloadListener(new OnDownloadListener() {
private MaterialDialog dialog;
public void onStart() {
dialog = new MaterialDialog.Builder(MainActivity.this)
.content("下载中")
.progress(false, 100, true)
.cancelable(false)
.show();
}
public void onProgress(int progress) {
if (null != dialog) {
dialog.setProgress(progress);
}
}
public void onFinish() {
if (dialog != null) {
dialog.dismiss();
dialog = null;
}
}
})
.setManual(isManual)
//开始更新
.check();
}配置网络权限ACCESS_NETWORK_STATE和INTERNET
1
2<uses-permission android:name="android.permission.ACCESS_NETWORK_STATE" />
<uses-permission android:name="android.permission.INTERNET" />-安装运行,即可看到如下2个界面:


-
